Running the QCS Setup Application
Before running QCS Setup you should carefully examine the shortcuts on your Desktop. If a shortcut titled “QCS” exists it will be overwritten by QCS Setup. If you are installing QCS for another district you will want to rename the shortcut. We suggest that you give the shortcut the name “QCS - <District>” where <District> is the name of the district that QCS is being used with. Examples would be “QCS - Tulsa”, “QCS - Los Angeles”, or “QCS - Norfolk”.
If you have followed the download instructions above, QCS Setup should be on your Desktop. To run the setup application you will double click on the icon just as you would any other application on your desktop. If you are running Windows Vista or Windows 7 and have User Access Control (UAC) turned on rather than lunching the application by a double click you should start the application by a right click and then selecting "Run As Administrator" from the pop up menu. Note that Vista and Windows 7 has UAC turned on by default.
Once QCS Setup has started it will extract all of the files that are used during to install QCS. Also at this time the Setup application will look to see if QCS is running. If QCS is found to be running you will be prompted to shut it down and to restart the Setup application again. Once the application has extracted all of the file and found that QCS is not running you will see the screen shown in Figure 3 below.
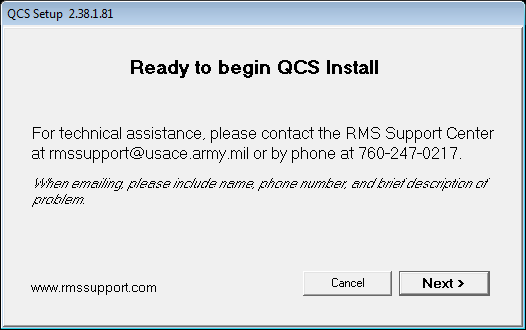
Figure 3: Here the QCS Setup application has successfully extracted all of the needed files and is ready to begin installing QCS.
To start installing QCS you will click on the "Next >" button.
Selecting your Install Type
QCS may be install in any of three ways - Server, Client, and Stand Alone. The differences are described below:
- Server: This will install about 25 Megabytes worth of executables and data files. The bulk of this will be the blank QCS database but importantly the Firebird service will be installed. Firebird is the name of the database engine used by QCS to manage all of the data that it does. It is open source which means that there are a number of sites that provide applications that support Firebird. However for the vast majority of QCS users this is not an issue as the Setup application will install all of the necessary Firebird software needed for QCS to run. Since the Firebird database engine is a service you will need Administrator priviledges to install it. Finally the QCS executable itself is not installed. A computer with the Server install will not run QCS but will allow a QCS database to be shared with many other users
- Client: This also will install about 25 Megabytes worth of executables and data files. The bulk of this will be the QCS executable itself. The Firebird service and QCS database are not installed. With this install the computer may access a QCS database that resides on another computer on the network.
- Stand Alone: The Stand Alone install combines both the Server and Client installs together and if you have the 50 or so Megabytes of free space on your hard drive, a common scenario, you should select this option. It is preferred over the Server install as having the QCS executable on the server itself will help many times in debugging or in providing another workstation to use for data entry. It is preferred over the Client install in that if one day you wish to use this computer as a remote site it will already have a database installed on it.